Disclosure: My dog blog is supported by dog parents just like you. I only recommend products that I would use on my dogs. All opinions expressed here are my own. I sometimes earn a small affiliate commission, at no extra cost to you, when you click through the affiliate link and purchase something. You can read more about my affiliate policy here.
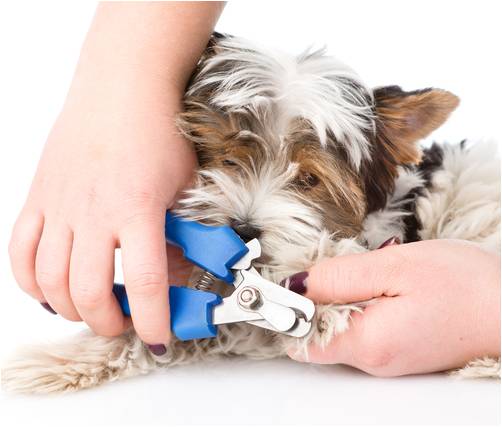
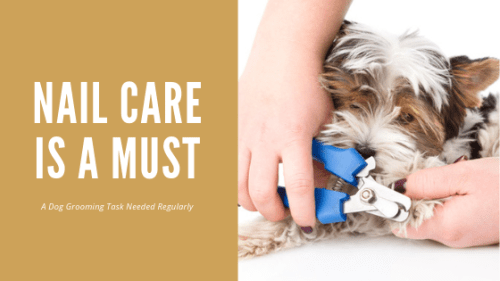
Regular nail trimming of your dog’s nails is an important grooming task for every dog parent. This is especially important for short haired dogs. For instance, they do not see a dog groomer on a regular basis. Consequently, there are a few benefits to nail trimming during a dog pawdicure for you and your doggo.
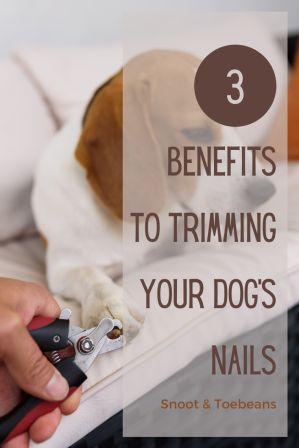
3 Benefits of Nail Trimming During a Dog Pawdicure
1. prevents from injury (a long nail can get caught on something or it can curl under and dig into their paw)
2. keeps human family members safe from pokes and scratches
3. short nails keep furniture and floors from being damaged.
Nail trimming can be very stressful for a dog if they aren’t accustomed to having their paws touched. So, before you undertake nail trimming regularly, you should include your dog’s paws in regular petting.
Before You Trim
Most importantly, put together a nail grooming kit.
The kit should include:
- nail trimmer or Dremel rotary tool
- styptic powder or quick stop
- cotton swabs to apply to styptic powder if needed
- treats
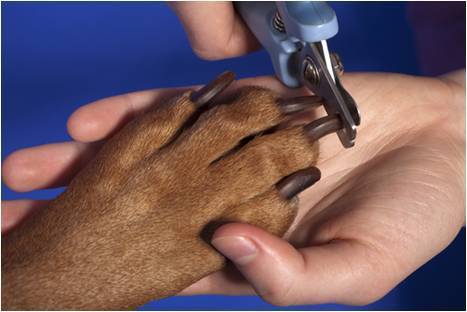
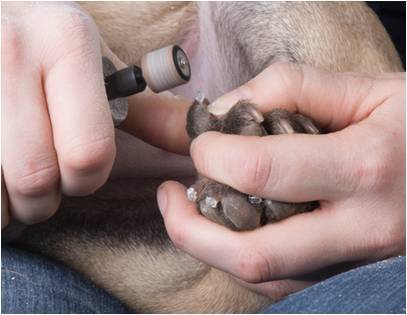
There’s not a right or wrong tool to use for trimming your dog’s nails. Some dog parents prefer to file the nails with a Dremel rotary tool over cutting them with a nail trimmer. However, this may not be a good choice for a dog with anxiety or nervousness around loud sounds. For example, your dog’s body language will let you know what they are comfortable with.
A little nick in the quick can cause a good amount of bleeding. Therefore, the styptic powder or quick stop needs to be in your nail grooming kit for possible bleeding. The bleeding can cause you and your dog to panic. It can also be hard to stop the bleeding, so keeping one of these items in your kit is important. If needed, apply a little powder to a wet cotton swab and hold it against the nail.
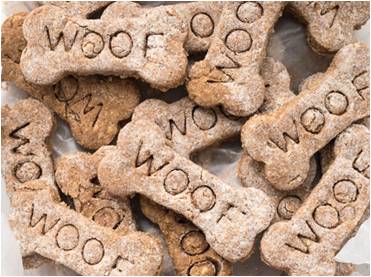
The treats need to be in your nail grooming kit for two purposes. Firstly, for encouraging your dog before trimming. And secondly, for rewarding your dog after trimming. These easy homemade dog treats work great during a dog pawdicure.
Time to Trim
Do you know that dogs can have different colored nails? They are either white or black, or some of both colors. If your dog’s nails are white, then they will be easier to cut. Thus, you will be able to see the pink blood vessel inside each nail, known as the quick. You don’t want to get close to the quick, because it will be very painful for your dog. In addition, there will be a lot of bleeding.
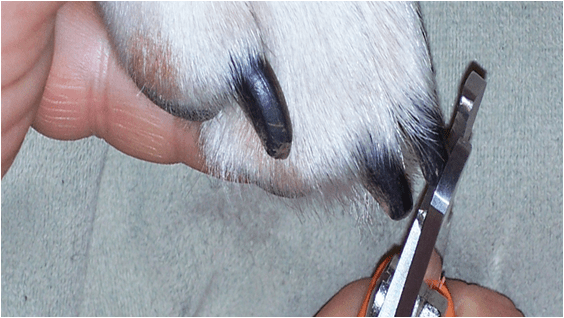
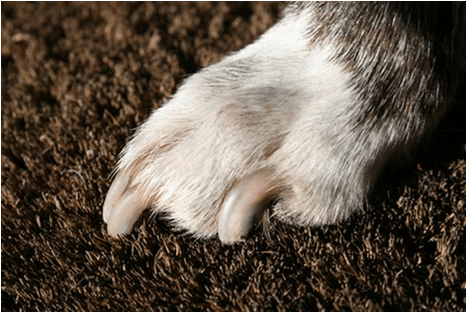
However, if your dog has black nails, then it can be scary to cut them. This is because you can’t see the quick.
Follow these directions for cutting either white or black nails:
- Stay calm.
- Start by trimming a very small amount of nail. (Some trimmers come with a guard. This only allows you to cut an eighth of an inch at a time.)
- Show your fur baby the treats for encouragement. Let them know they will get one when the task is finished.
- Hold your dog’s paw and clip off a tiny amount of the white part of the nail. Or, clip off the very end of a black nail.
- Keep cutting just a little bit at a time until you see a circle inside the center of the nail. (This circle lets you know you are getting close to the blood vessel or the quick.)
- Stop trimming when you see the circle.
- Use the treats from your kit to reward your fur baby.
A Good Experience is the Goal
If the experience is stressful for your doggy, then consider cutting one or two nails at a time. It might take a week before you can get all of the nails cut and that’s okay. You can build up to being able to cut them all in one session.
In addition, you can also try to cut a nail, then give a treat. Keep going this way until all of the nails are cut. A good experience for your doggy is the goal. Therefore, you are able to perform this grooming task regularly as the ultimate goal.
Finish With a Moisturizing Massage
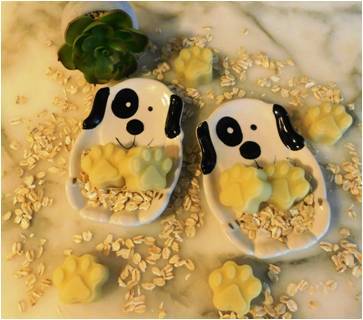
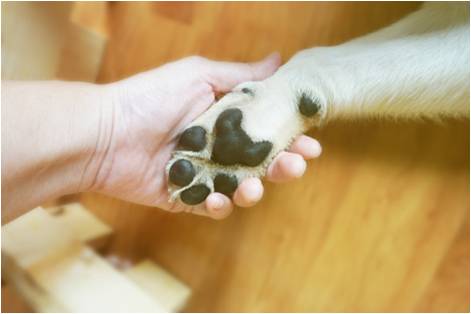
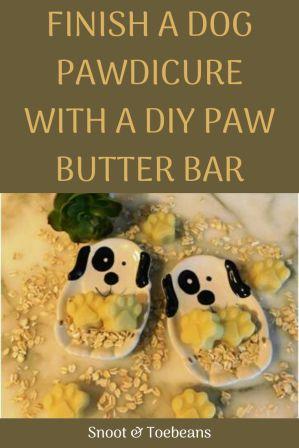
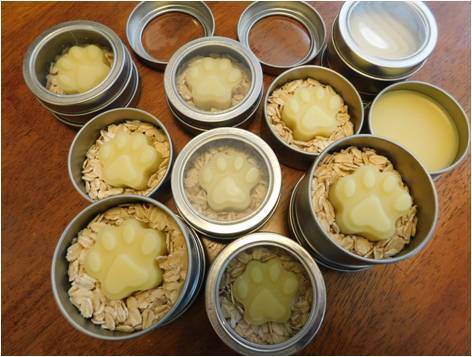
A dog pawdicure wouldn’t be complete without a good moisturizing massage for your dog’s four, sweet paws. You can make a DIY paw butter bar that will do just the trick.
- The avocado oil in the paw butter bar has several benefits. It will nourish and moisturize; accelerate wound healing; and soothe sunburned paws.
- The shea butter helps heal and soothe any cracks in your dog’s paws.
- The beeswax and coconut oil creates a protective barrier for your dog’s paws against germs. Likewise, it protects against snow and salt-covered sidewalks in the winter, and hot pavement in the summer.
- The hemp seed oil relieves painful paws.
So, this paw butter bar should be used more often than just to finish off a dog pawdicure. Apply this paw butter bar in the summer and the winter to protect your doggo against the environment.
In Conclusion
If your dog’s nails haven’t been trimmed in a while, now is the time to start. Furthermore, just like human feet, our dog’s paws need a little TLC.
Okay y’all I don’t make any money for plugging these Warren London pawdicure polish pens. In fact, I can’t even say I’ve tried them on my doggos. But, guess what? Yep, as soon as I finish this post, I’m off to purchase. They just look so fun! I can’t resist!
We want to hear if you try this recipe. Let us know in the comments below.
Do you have suggestions for trimming a dog’s nails? We would love to hear about them in the comments below.
You might want to try this recipe for DIY Paw Balm.
You can use one of the images below to pin to Pinterest.
Paw Butter Bars
Ingredients
- 3 oz beeswax
- 3 tbsp shea butter
- 3 tbsp avocado oil
- 3 tbsp coconut oil
- 3 tbsp hemp seed oil
Instructions
- Combine the shea butter, avocado oil, and coconut oil in a small saucepan and heat over low until liquified and combined.
- Take off of the burner and add the hemp seed oil. (The purpose of this is hemp seed oil loses its nutritional value when put over heat.)
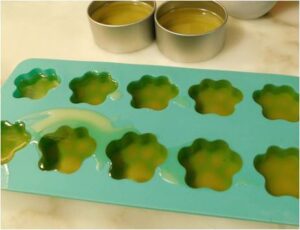
- Pour the liquid into a silicone container with 6 paw shapes and allow to harden and set; it will become a solid in 20 minutes at room temperature.
- Rub the paw butter bar between your palms, then massage into your dog's paws.


Pingback: Brushing Your Dog’s Teeth Regularly is Important | Snoot and Toebeans